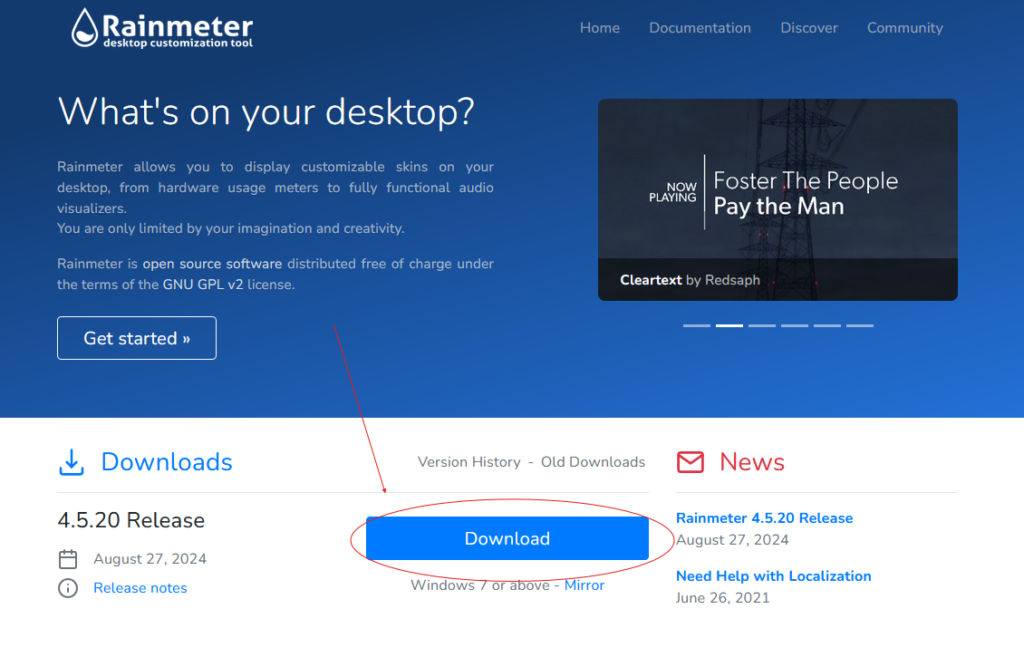
Step 1: Go to https://www.rainmeter.net/ and download Rainmeter.
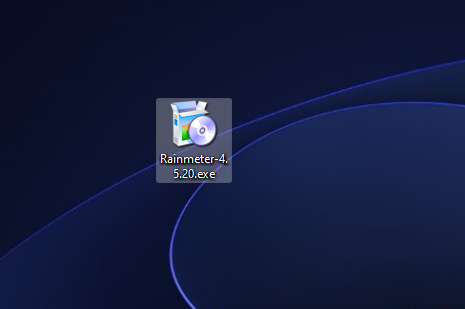
Step 2: Find the downloaded installer and execute it.
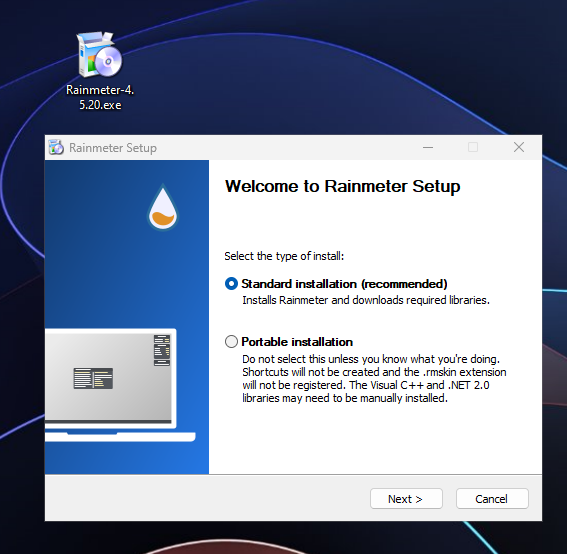
Step 3: After launching, it will ask your language and ask the type of install. For a better experience using the app, we recommend using the Standard Installation.
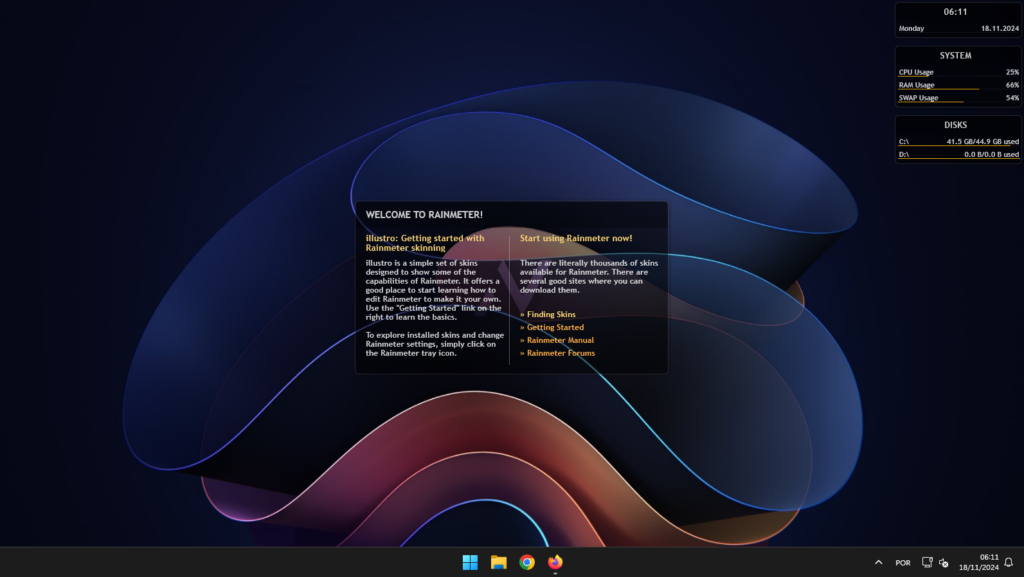
Step 4: After installing, you will see these skins named “Illustro” (they are installed by default by rainmeter) on your desktop.
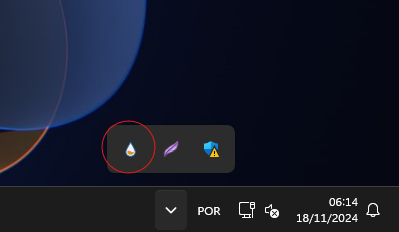
Step 5: Once installed, open your Windows Notification Area on the taskbar and click on the Rainmeter icon to open it.
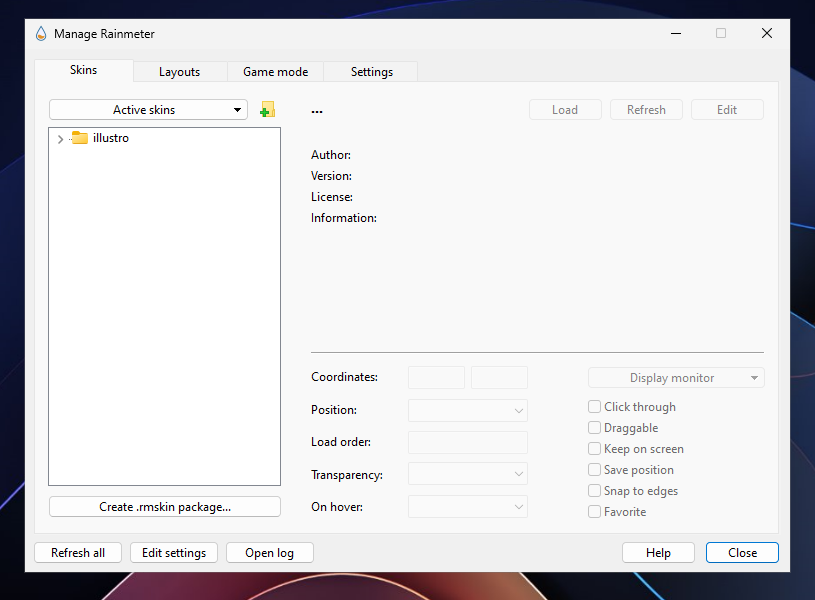
Step 6: When you open the Rainmeter manager, it will appear as shown in the screenshot below, featuring three distinct tabs. The “Skins” tab houses all the skins you have, allowing you to load or unload them, as well as modify various skin properties using the options in the bottom-right corner. The second tab, “Layouts,” stores all the layouts you’ve saved. Lastly, the “Settings” tab lets you adjust the language and configure some basic functionalities.
Ok. Now, how can i download and apply custom skins?
Now that you have Rainmeter installed, you can use visual11themes.win to search and downloads any skins you may like.
After downloading a skin, it will appear as shown in the preview below. To install it, simply double-click on the file or right-click and select “Open.” and then click on install.

Once the installation is complete, the skin will be available in the “Skins” tab of the Rainmeter manager, where you can load it as needed. (open the folder of the skin you want to load, click on the .INI file, then click on “Load”)
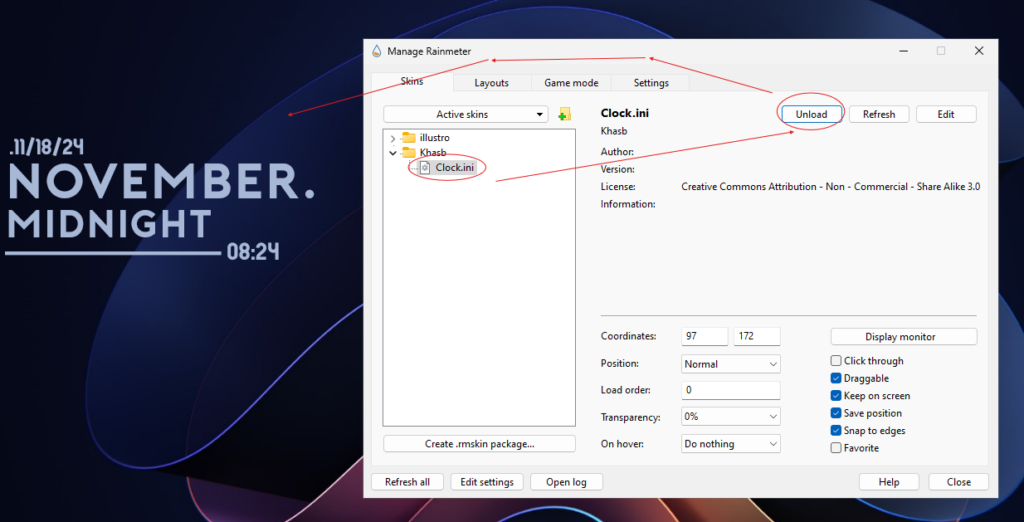
After that, the skin will show on your desktop. If you want to remove it, just click on “Unload”.
There is some specific skins that i need to edit. How can i do that?
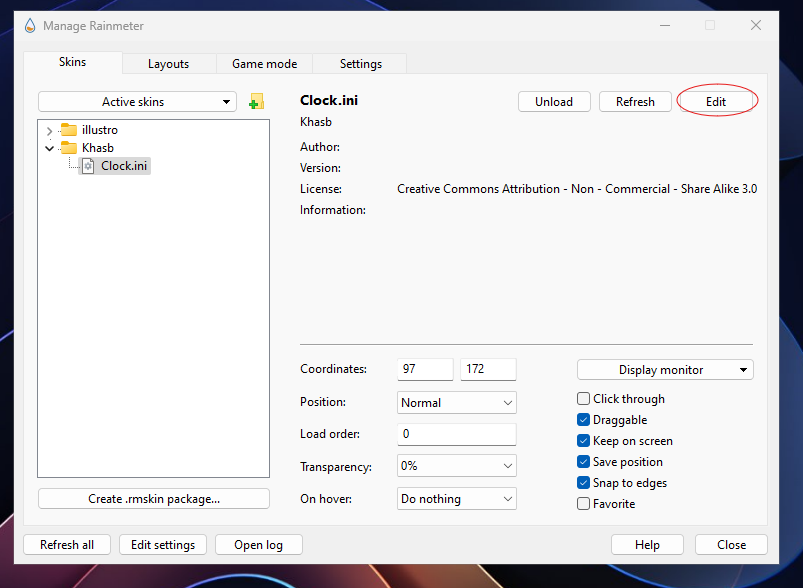
To modify a Rainmeter skin, you can do so directly from the Rainmeter manager, as shown in the screenshot below. This will open a Notepad file, known as a Rainmeter “.ini” file, which serves as the core configuration file for the skin. In this file, you can adjust various parameters, including fonts, sizes, colors, and more. You may want to backup the original .ini file before making any changes, as incorrect edits could cause the skin to malfunction.